Quickstart
In this guide, we'll introduce the API reference of TaskingAI and walk you through the initial setup required to use it, including the handling of the necessary authorization.
Authorization
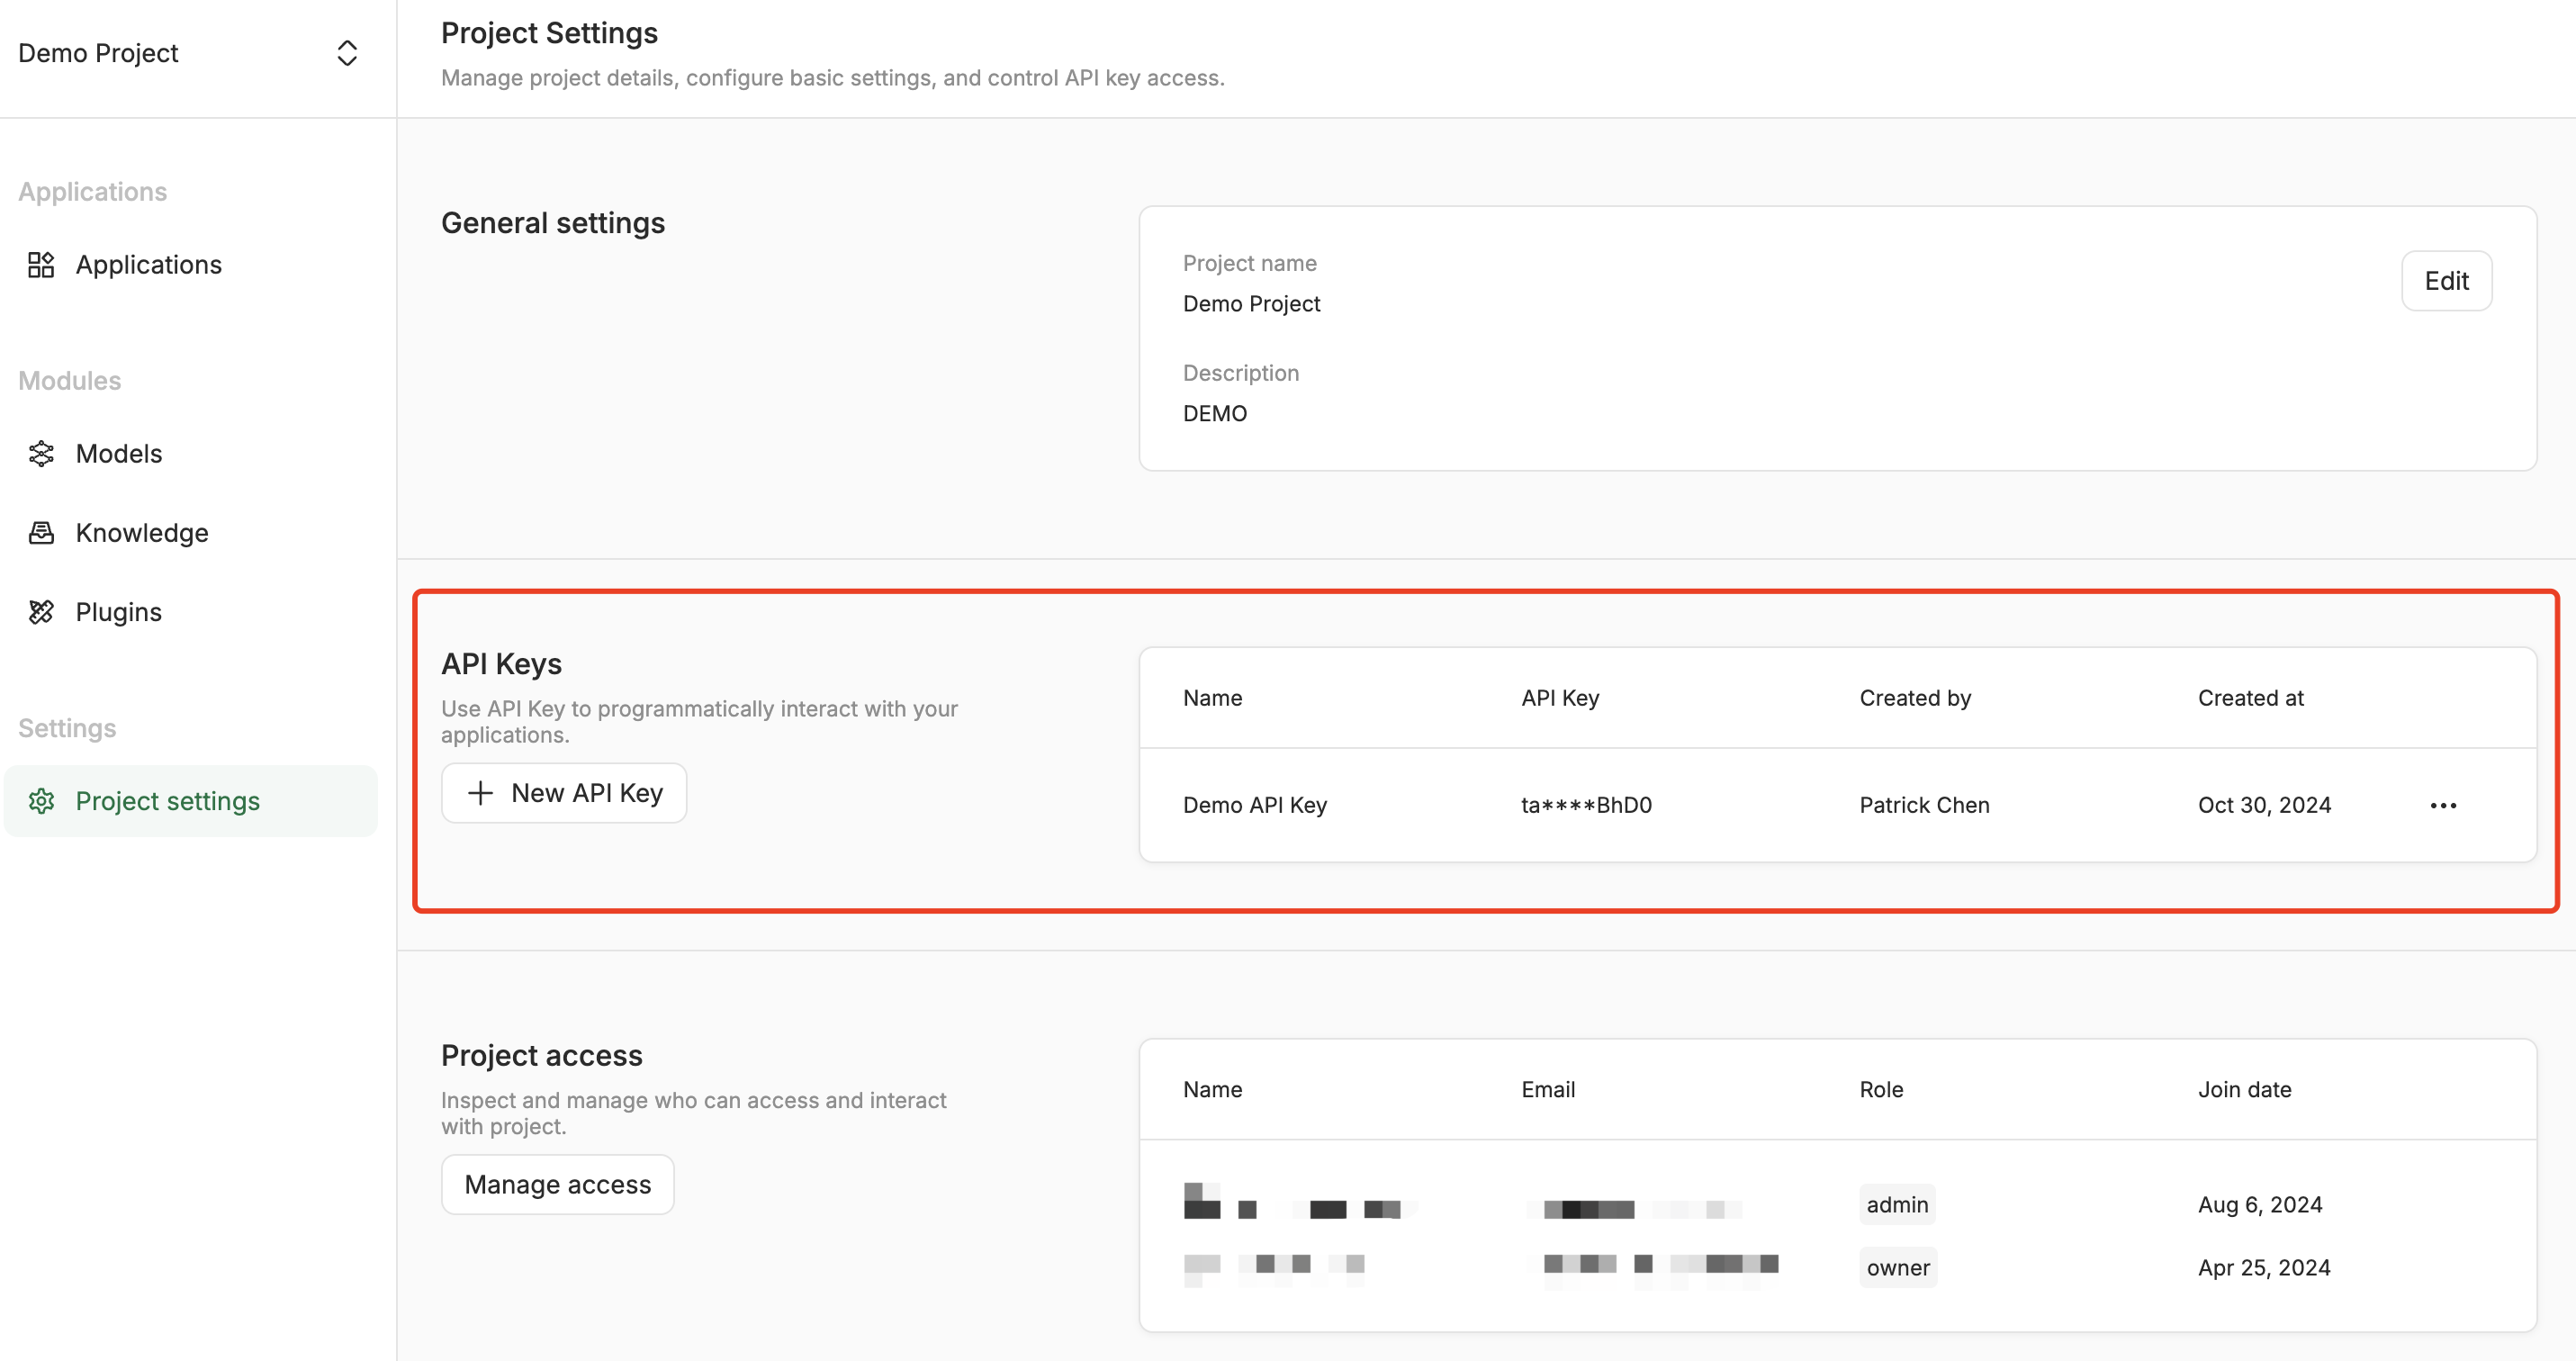
Before integrating TaskingAI APIs, you need to obtain an API key from the TaskingAI platform. The API key is used to authenticate your requests to TaskingAI's cloud services.

When you make a request to TaskingAI's API, you need to include the API key in the request header. The header key is Authorization and the value is Bearer $TASKINGAI_API_KEY where $TASKINGAI_API_KEY is the API key you obtained from the TaskingAI platform.
{
  "Authorization": "Bearer $TASKINGAI_API_KEY"
}
For example in Javascript with axios, a request to send a user message to an existing assistant chat session would look like this:
const axios = require('axios');

axios.post(`https://api.tasking.ai/v1/assistants/{assistant_id}/chats/{chat_id}/messages`,
    {
        text: "What's the weather like today in New York?"
    },
    {
        headers: {
            'Content-Type': 'application/json',
            'Authorization': 'Bearer $TASKINGAI_API_KEY'
        }
    }
)
.then(response => {
    console.log('Message sent successfully:', response.data);
})
.catch(error => {
    console.error('Error sending message:', error);
});