Self-Hosting with Docker
A simple way to initiate self-hosted TaskingAI is through Docker.
In this guide, we'll introduce how to host the TaskingAI community edition using Docker Compose, including steps to clone the repository, use Docker Compose, create a model and an API key in the console, and test it using the Python client SDK:
Prerequisites
- Docker and Docker Compose installed on your machine.
- Git installed for cloning the repository.
- Python environment (≥ Python 3.8) for running the client SDK.
Step-by-Step Guide
1. Clone the repository
First, clone the TaskingAI community edition repository from our GitHub repository.
git clone https://github.com/taskingai/taskingai.git
cd taskingai
2. Launch with Docker Compose
- Inside the cloned repository, go to the docker directory.
cd docker
- Copy
.env.exampleto.env:
cp .env.example .env
-
Edit the
.envfile: Open the.envfile in your favorite text editor and update the necessary configurations. Ensure all required environment variables are set correctly. -
Start Docker Compose: Run the following command to start all services:
docker-compose -p taskingai --env-file .env up -d
If docker-compose command is not supported on your machine, you may try docker compose instead. For more information,
refer to Docker Documentation
3. Access to the Console
Once the service is up, access the TaskingAI console through your browser with the URL http://localhost:8080.
If you want to run the service on a different port, for example 8081,
change the nginx port configuration from 8080:80 to 8081:80 in the docker-compose.yml file.
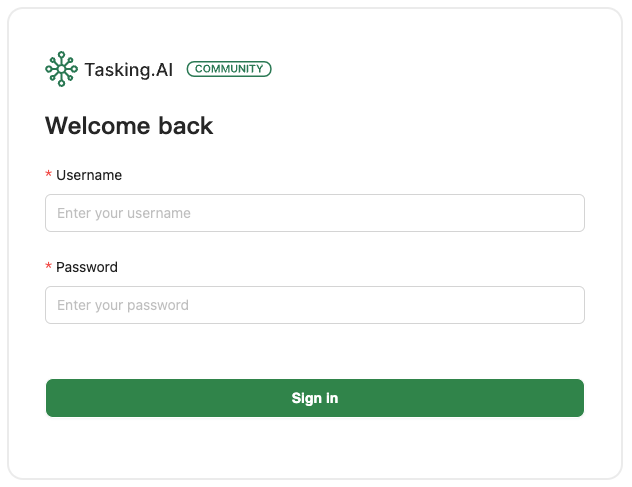
The installation was successful if you see the login page in the browser.
The default username and password are admin and TaskingAI321.
After logging in, navigate to the Models module and create a new model as per your requirements.
Go to the API Key section and generate a new API key. Keep this key safe as you'll need it for authentication with the Python client SDK.
4. Testing with Python Client SDK
Ensure you have Python 3.8 or above installed, and set up a virtual environment (optional but recommended).
Install the TaskingAI Python client SDK using pip.
pip install taskingai
Once the client SDK is successfully installed, you can write a Python script to test the TaskingAI service according to the documentation. Here is a simple example:
import taskingai
from taskingai.assistant.memory import AssistantNaiveMemory

taskingai.init(api_key='YOUR_API_KEY', host='http://127.0.0.1:8080')

# Create a new assistant
assistant = taskingai.assistant.create_assistant(
    model_id="YOUR_MODEL_ID",
    memory=AssistantNaiveMemory(),
)

# Create a new chat
chat = taskingai.assistant.create_chat(
    assistant_id=assistant.assistant_id,
)

# Send a user message
taskingai.assistant.create_message(
    assistant_id=assistant.assistant_id,
    chat_id=chat.chat_id,
    text="Hello!",
)

# generate assistant response
assistant_message = taskingai.assistant.generate_message(
    assistant_id=assistant.assistant_id,
    chat_id=chat.chat_id,
)

print(assistant_message)
Note that the YOUR_API_KEY and YOUR_MODEL_ID should be replaced with the actual API key and chat completion model ID you created in the console.
The host parameter should be replaced with the actual host address of your TaskingAI service.
Once the script is successfully executed, you should see the assistant response in the console. Which means the installation and setup are successful. Now you can start developing your own AI-native application with TaskingAI!