Manage Assistants
Create an Assistant
You can create an assistant for testing purpose using the TaskingAI dashboard. Here are the steps:
- From the left sidebar, navigate to the
Workspacetab. - In the level-two sidebar, click the
Applicationstab. - Click the
New Applicationbutton on the top right. - Enter an application name, and select the model you created in the previous step. Then click the
Confirmbutton.
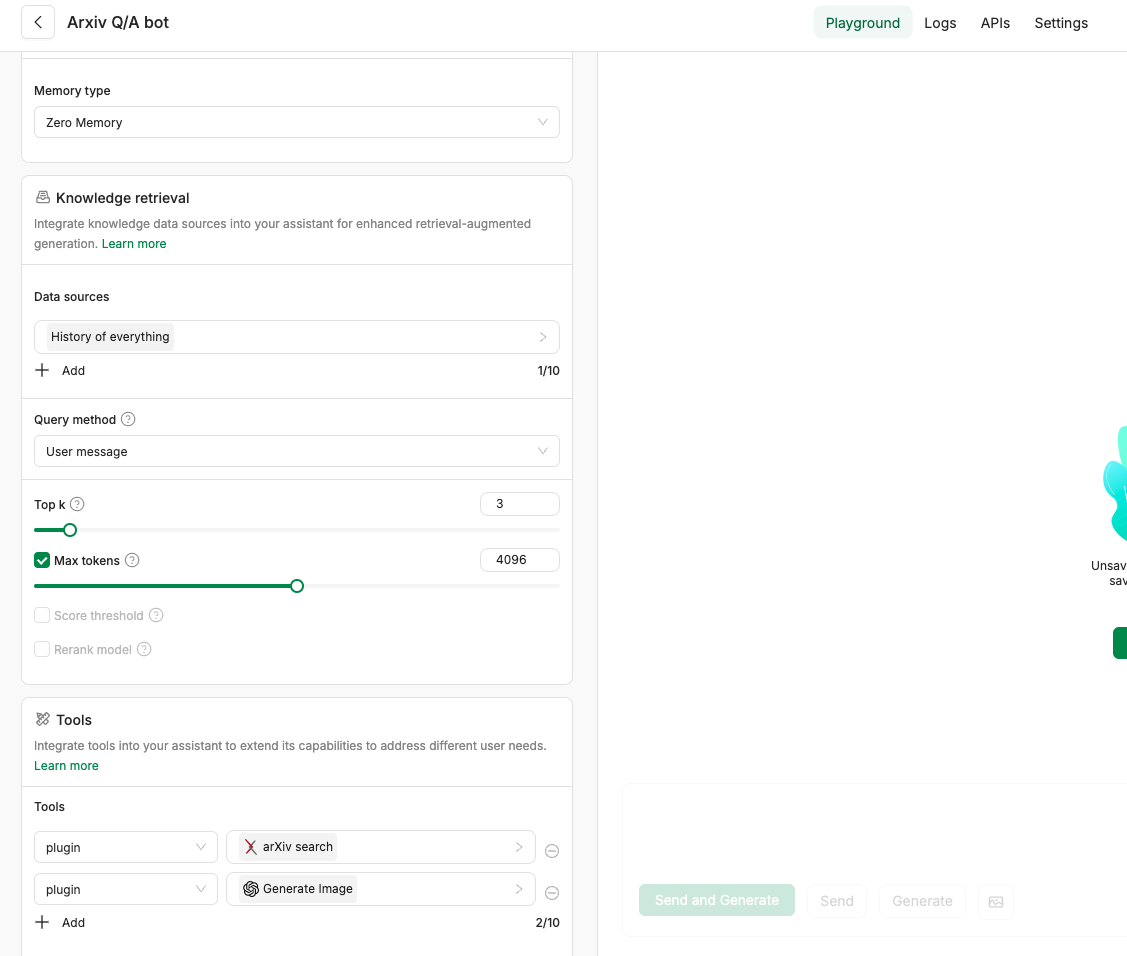
Each assistant requires the binding to one language model. For advanced integration, you can specify multiple retrieval collections for Retrieval Augmented Generation (RAG) or multiple tools for various functionalities.

Update an Assistant
You can easily update an assistant using the TaskingAI dashboard with the following steps:
- Navigate to the
Workspacepage then go to theApplicationtab. - Select the assistant object that you want to update.
- The assistant configuration panel will appear on the left side.
Delete an Assistant
- Navigate to the
Workspacepage then go to theApplicationtab. - Locate an assistant that you want to delete and hover over the assistant card.
- Click the
Morebutton (three dots) in the bottom right corner of the assistant card. - Click the
Deletebutton to delete the assistant. - Follow the instruction in the pop-up window to confirm the deletion.