Custom Plugins
Custom plugins provide users a user-friendly interface to build their own integrations between TaskingAI's service and other services.
Just as official plugins, custom plugins also follows a Bundle-Plugin structure. Users may define multiple plugins under a bundle, and each plugin can be used to interact with a different service or API.
Manage custom bundles
To manage custom bundles, follow these steps:
- From the left sidebar, navigate to the
Workspacetab. - In the level-two sidebar, click the
Puginstab. - Click
Customtab on the top to enter the custom bundle management page. - Click the
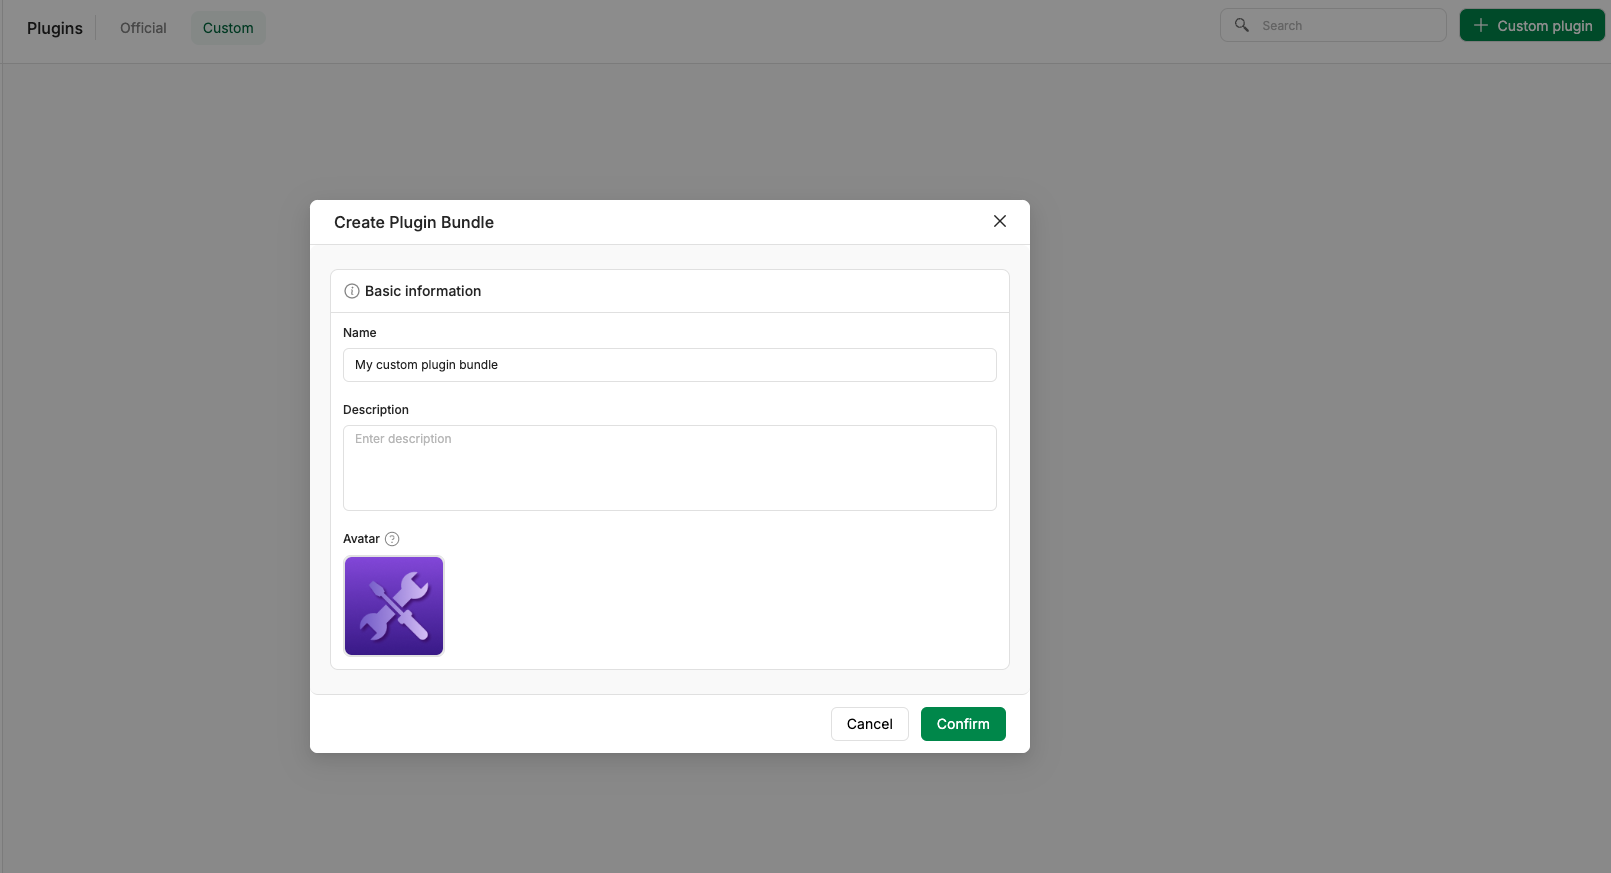
New bundlebutton on the top right to create a new bundle. - Enter necessary information for the bundle and click the
Confirmbutton.

To delete a custom bundle, hover over the custom bundle card, and click the more button (three dots) in the bottom right corner of the card. Then click the Delete button to delete the bundle.
Manage custom plugins
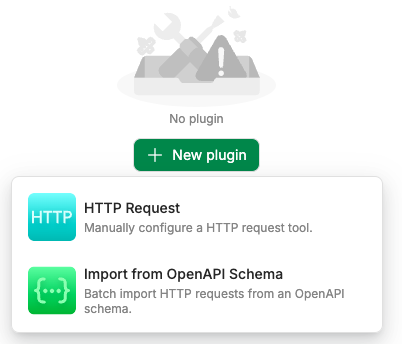
Once you have created a custom bundle, you can create custom plugins under the bundle.
Currently there are two ways to create a custom plugin:
- Create a custom HTTP request from scratch: You can create a plugin from scratch by defining the plugin's name, description, endpoints, parameters, and more (check next section for detailed instructions).
- Import a plugin from OpenAPI spec: You can import a plugin from an OpenAPI spec file. The service will automatically generate the plugin based on the OpenAPI spec.

Configure a custom HTTP Request
Tasking AI provides a clean and user-friendly interface to create a custom HTTP request plugin. Users can specify the following modules to define the plugin:
Basic information:
- Plugin name: the plugin's name, for display only
- Plugin description: a brief description of the plugin
- Function name: the function name that will be passed to LLMs for tool calling
HTTP request:
- Method: the HTTP method of the request
- Url: the URL of the request
- Headers: the headers of the request
- Parameters: the query parameters of the request
- Body type: the type of the request body (only available for
POST,PUT, andPATCHrequests) - Body: the body of the request (only available for
POST,PUT, andPATCHrequests) - Response timeout: the timeout threshold of the request
- Response type: the type of the response, for better parsing
- Response example: the JSON schema of the response, for better parsing (Only available for
JSONresponse type) - Authentication: the authentication method and credentials of the request
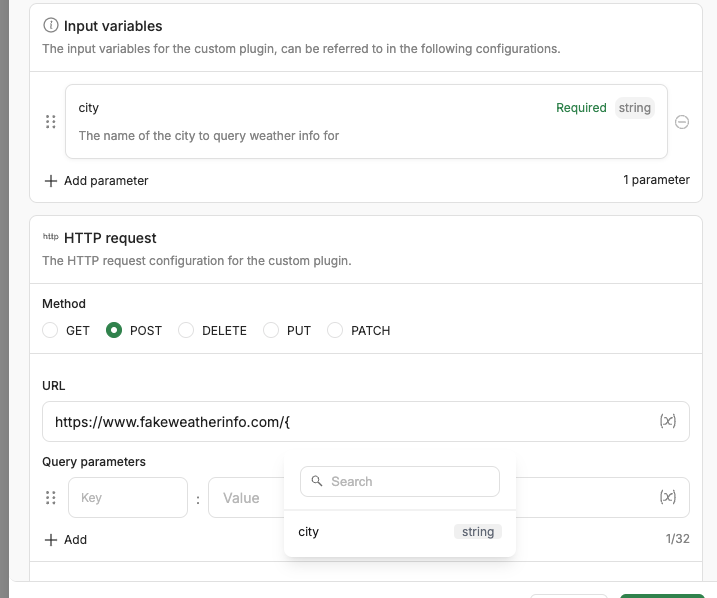
A core feature when configuring a custom plugin is the Input Variables. Users can define input variables that will be passed to the plugin when calling the plugin in the tool. The input variables can be used to customize the request dynamically.
After specifying the input variable name and type, they can be used in the URL, headers, parameters, and body of the request by using the format {variable_name}. A dropdown selection will be available when you type { to select the input variable.
