Integrate to Webflow
To insert the provided code into your Webflow website, follow these simple steps. This guide will walk you through how to add the code to the footer of your site.
Prerequisites
- A published TaskingAI Widget application
- Access to manage applications under your TaskingAI workspace
- A Webflow account
Fetch the Code on TaskingAI
- Log in to TaskingAI console, and navigate to the Applications tab under Workspace.
- Click on the widget application you want to integrate with webflow.
- On the tab selection bar on the top, click on the Channels tab.
- Select Webflow and configure the domain settings according to the hints.
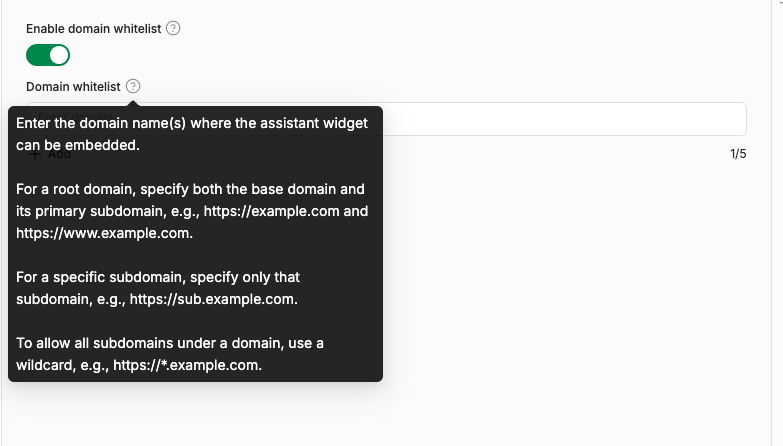
- Click Activate after filling in the information.
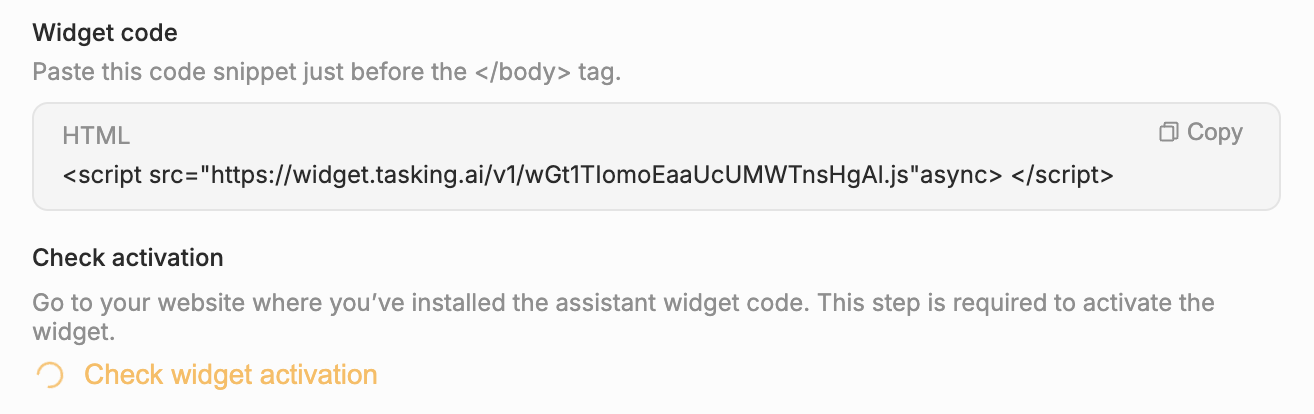
- You will be provided with a code snippet that you need to insert into your Webflow website.
Setup on Webflow
Step 1: Log in to Your Webflow Account
Start by logging into your Webflow account. Open your browser, go to Webflow, and sign in with your credentials.
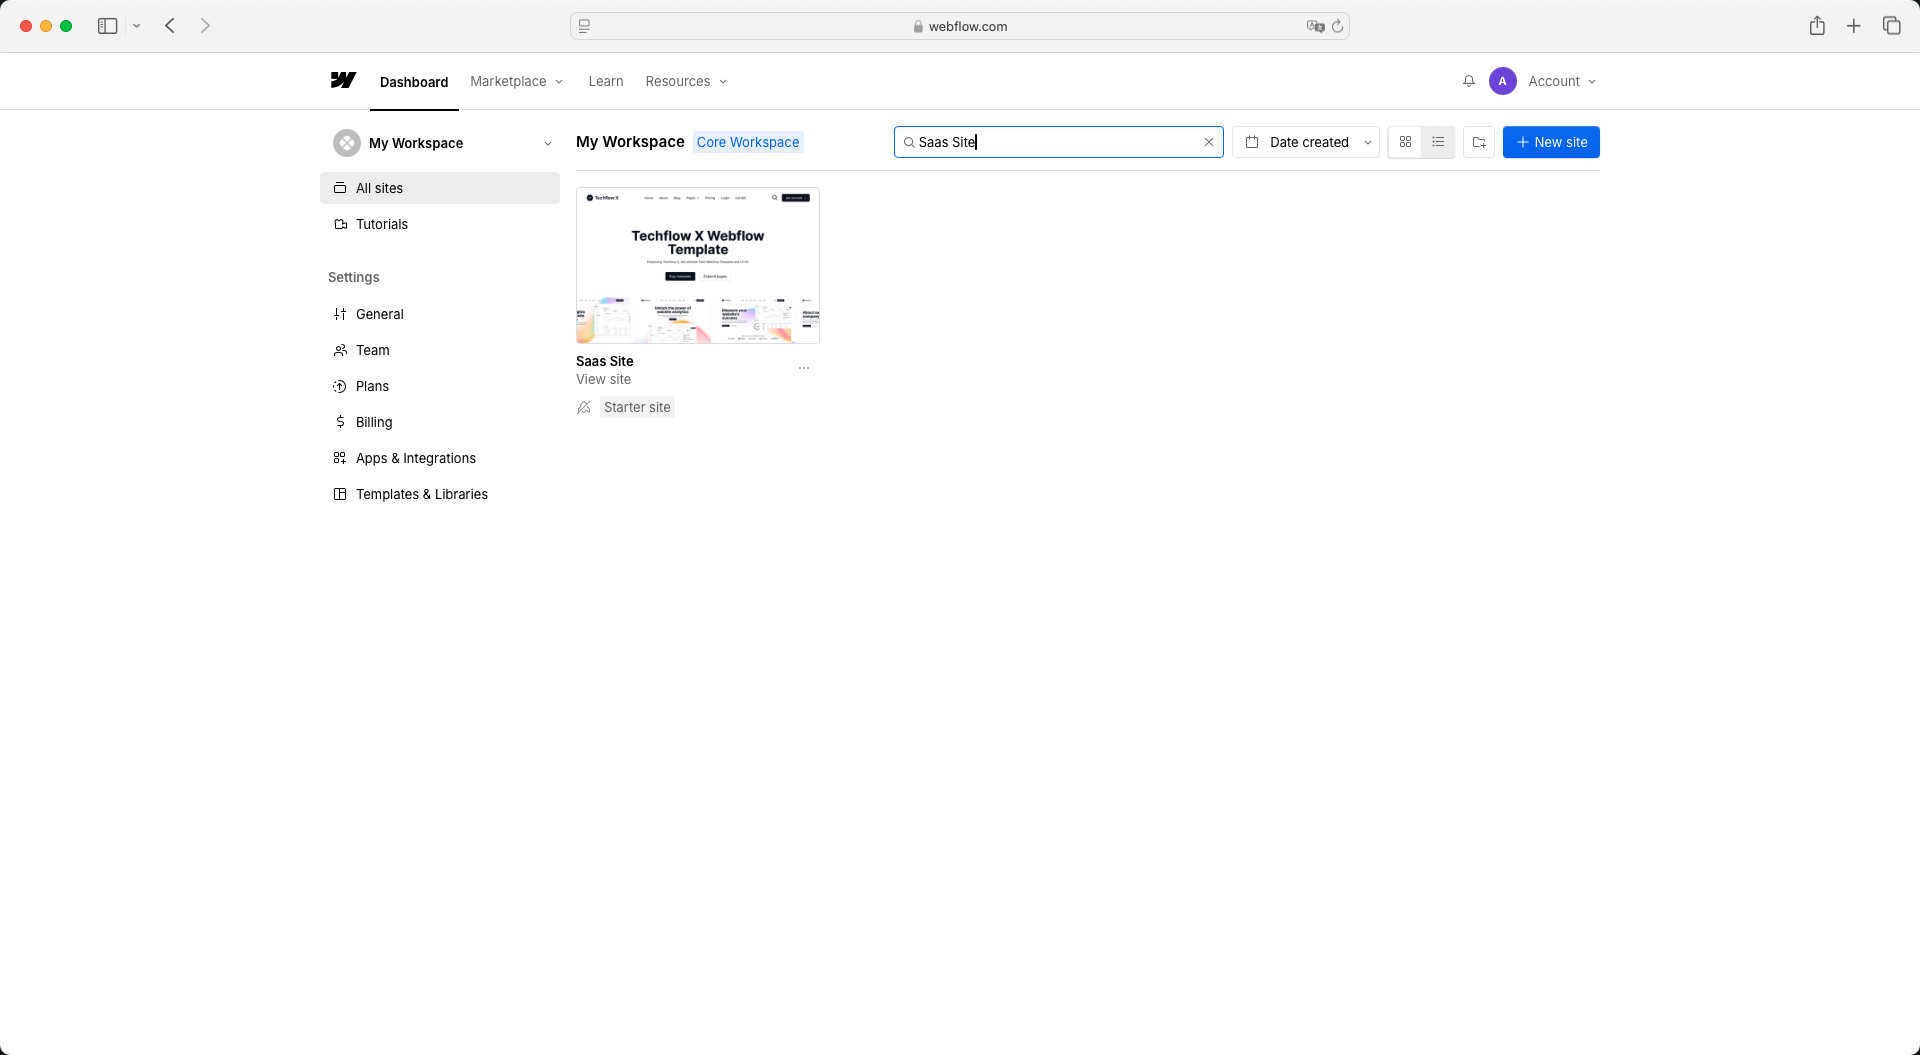
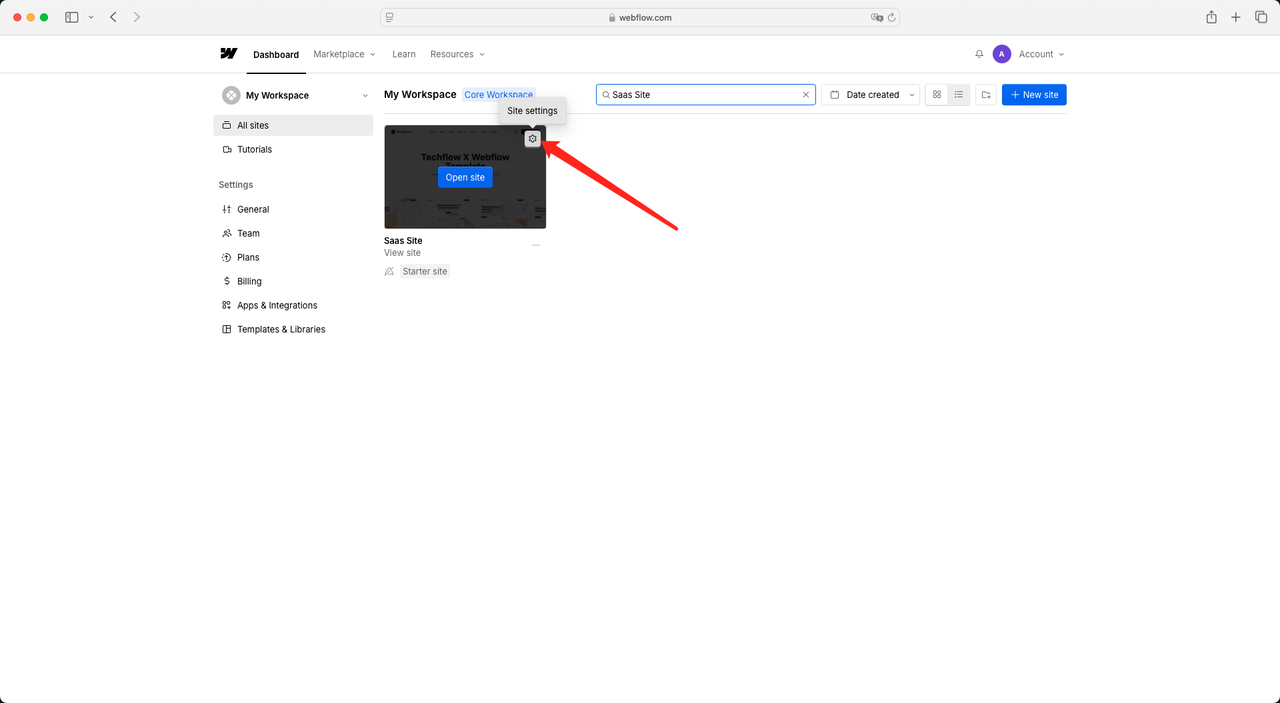
Step 2: Access Your Website Settings
Once logged in, go to the dashboard and hover your cursor over the Site icon, and you’ll need to click on Site Settings.
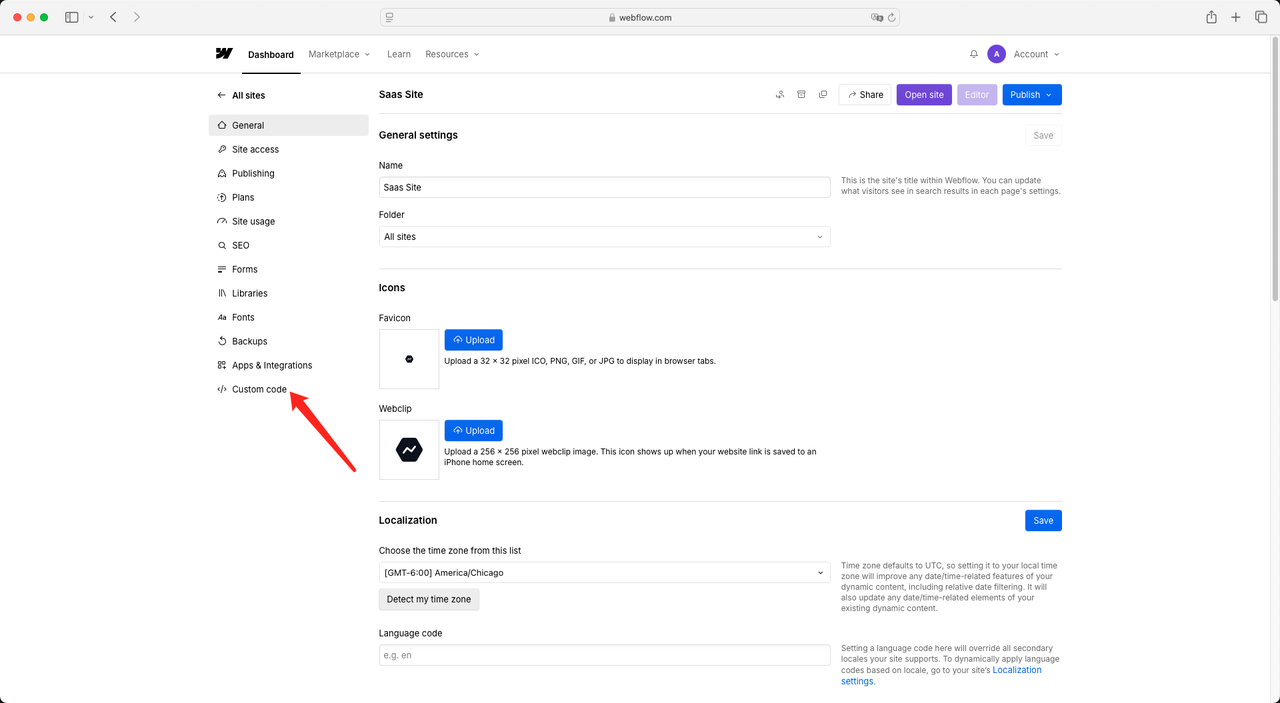
Step 3: Open Custom Code Settings
In the Site Settings page, navigate to the sidebar on the right. Click Custom Code at the bottom of the sidebar.
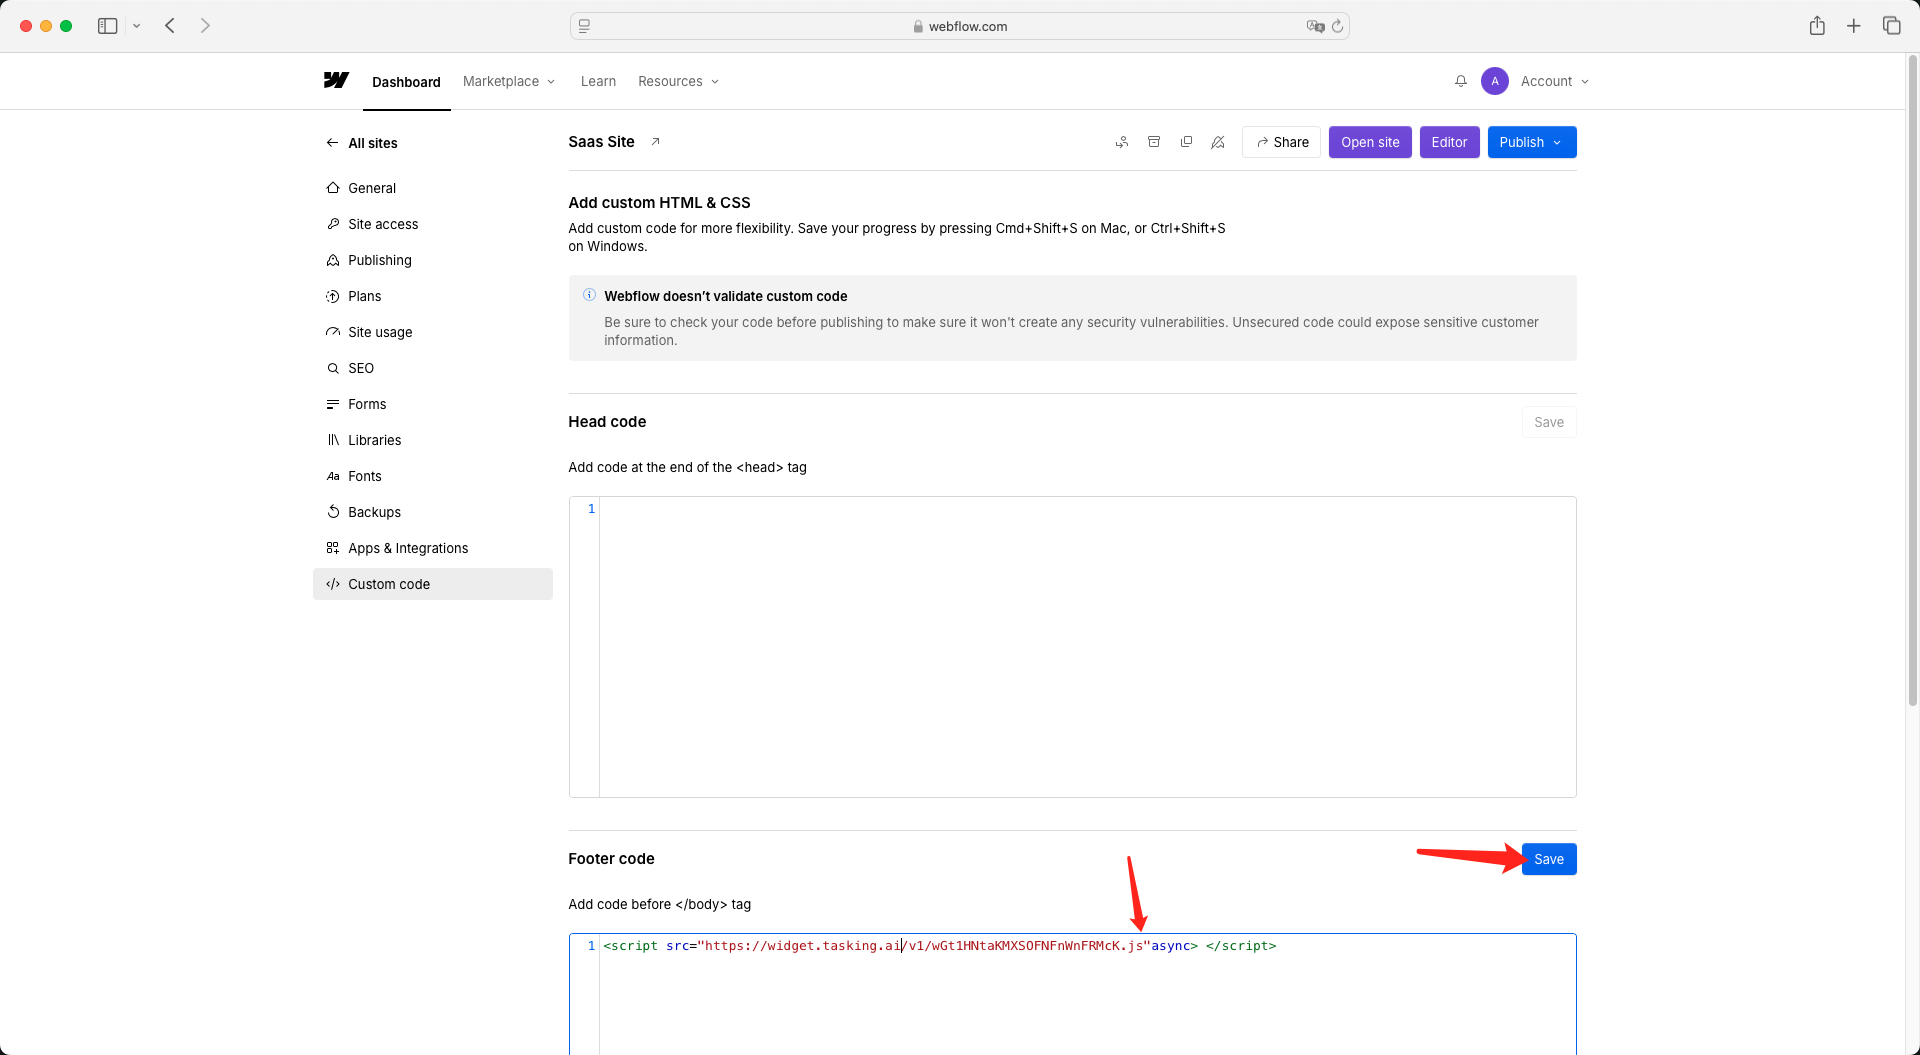
Step 4: Insert Code into the Footer
In the Custom Code section, find the Footer code area. Paste the previously obtained widget code before the closing </body> tag, then click Save.
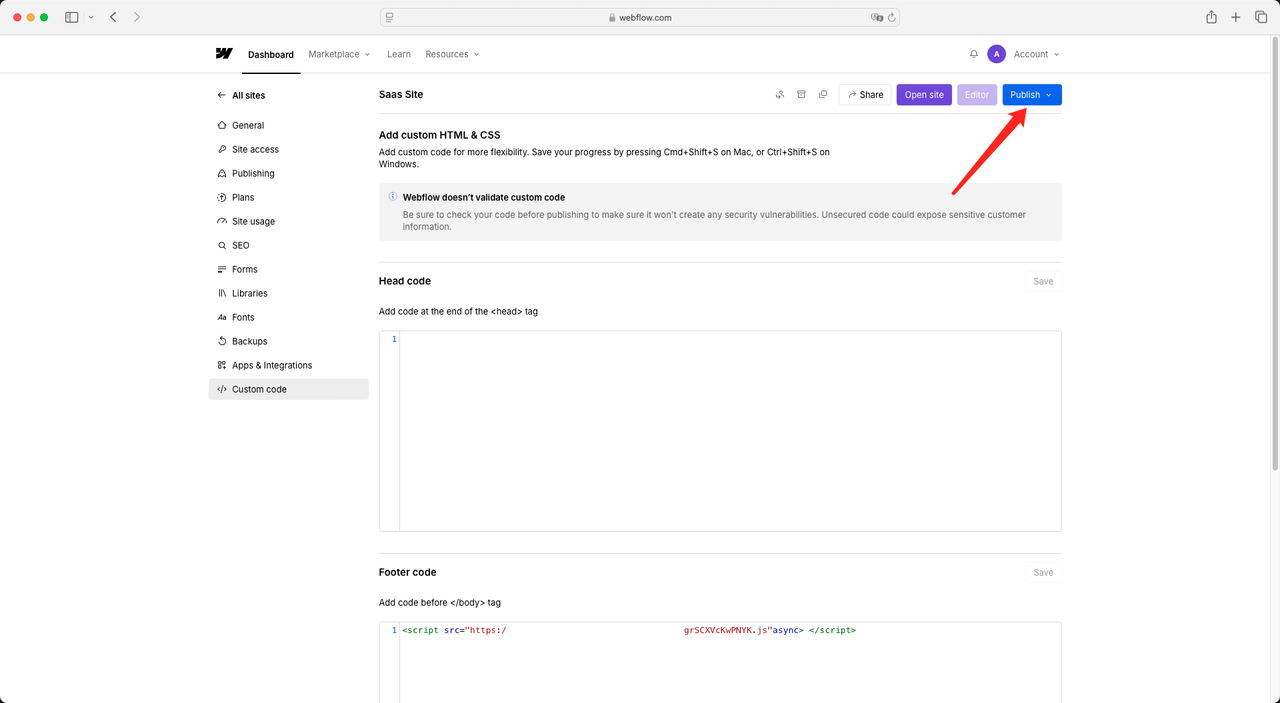
Step 5: Publish Your Site
After pasting the code, click the Publish button in the top right corner of the page to apply the changes to your live website.
Step 6: Verify the Changes on Your Site
Finally, visit your website and refresh the page to ensure the code has been successfully added and is functioning as expected.